A barbecue in Britain has a hard life. It spends most of the year under a cover, gets wheeled out for a sunny Saturday, then goes back to sitting quietly behind the shed while the rain does its work. Most grills don't wear out from cooking. They rot, seize up and flake because nobody dried them properly.
The good news is that it takes less effort than you'd think. Seasoning the metal — baking a thin layer of oil onto it — keeps moisture out and stops food sticking. Everything else is drying, oiling and choosing where the grill lives between cooks. Get those three habits right and even a modest kettle grill will outlast the garden furniture.
Cook a steak on cast iron at 250°C and nothing much happens to it. Leave the same grate outside in October and it will be orange by Bonfire Night. Rust needs moisture and oxygen, and British weather supplies both in abundance. A covered grill is not automatically a dry grill: water collects in the base of a kettle, sits on the grates, and condensation forms under the lid every time the temperature drops overnight.
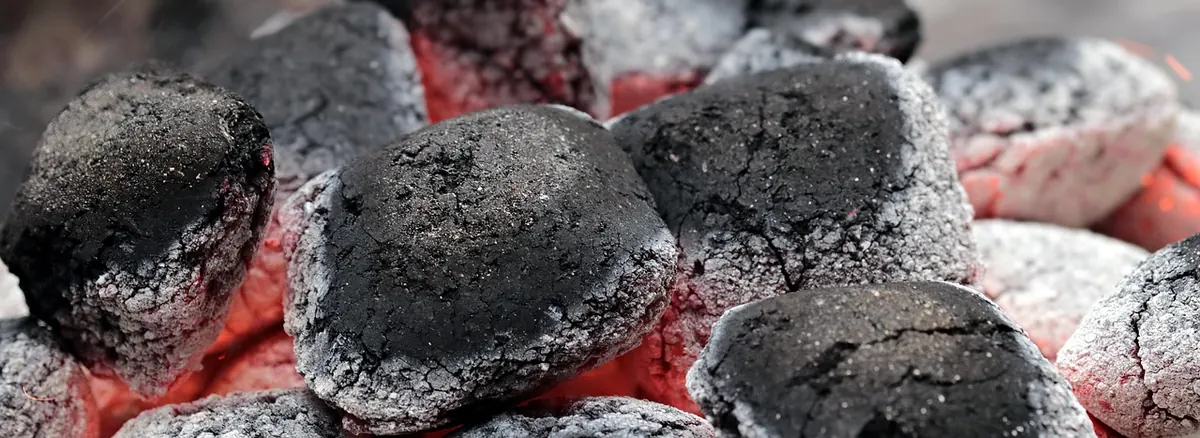
Ash is the other culprit. Charcoal ash is alkaline and soaks up moisture like a sponge, holding damp against the metal until something gives. Grease trays full of old fat do much the same, and they attract pests. If you only change two habits this year, empty the ash and the drip tray after every cook.
Seasoning is a thin, baked-on film of polymerised oil. It isn't a product you buy in a tin; it's a barrier that keeps water and air off bare metal and gives food a slick surface to sit on. It builds over time and repairs itself every time you cook with a light smear of oil.
Not every grate needs it. Cast iron, carbon steel and plain steel benefit enormously. Stainless steel won't hold a seasoning in the same way, though a quick wipe with oil before cooking still helps. Porcelain-enamelled grates don't need seasoning at all — thick oil at high heat will stain and eventually chip the enamel, so clean them gently and leave them bare.
Do this outdoors on a dry, still day and give yourself half an hour.
Work while the grill is still warm, not hot.
Two things to avoid: never leave cast iron soaking overnight, and never put it in the dishwasher. Both strip the seasoning and leave bare metal exposed.
A cover keeps rain off, but it can also trap moisture underneath, and cheap non-breathable tarps are the worst offenders. Use a vented or breathable cover, and always cover a cold, dry grill rather than a warm one. Stand the grill on paving or a wooden pallet instead of grass, where damp wicks up through the legs.
While you're out there, run a lightly oiled cloth over hinges, the thermometer bezel, burner knobs and any bare fixings. A smear of petroleum jelly on threads and springs makes spring disassembly far less painful.
This is the point where most grills quietly fall apart. Set aside an hour on a dry weekend in late September or October.
Expect a little surface rust; it's normal and it comes off. Scrub the grates with fine wire wool and oil, then re-season. Rust that has pitted deep into the metal, or flaking chrome on a gas burner, means replacement rather than rescue.
On a gas grill, inspect the burner tubes before the first cook. Spiders and earwigs nest in the openings, and a blocked tube can cause uneven flames or a flash of flame where you don't want one. Check the hose for cracks and perishing and replace it if it looks tired, then test the connections with soapy water — bubbles mean a leak. If you smell gas at any point, don't light anything, keep flames away, ventilate the area and have a competent gas engineer look at it.
Season after every few cooks, clean after every cook, and empty the ash or drip tray while the grill is still warm enough to handle. Cover it dry, never wet, and give the whole thing an hour of attention before winter.
That's roughly two hours a year. Do it and your grill will still be the one you bought when the neighbours have replaced theirs twice.
Photo: NoName_13 / Pixabay