Firewood behaves like a sponge. Leave a stack out in the open through a British winter and it will soak up every drizzle, mist and sideways shower that comes its way, then sulk in your stove for an hour before it decides to burn. The frustrating part is that it takes very little effort to avoid this. A decent base, a sensible spot and the right kind of cover will get you through to March with logs that catch quickly and throw out proper heat.
Here is how to set up a wood store that works with the weather rather than against it.
Freshly felled wood can be half water by weight. Until most of that has evaporated, you are burning steam rather than timber. Wet logs hiss, smoulder and blacken the glass, and the energy that should be warming your room is spent drying the wood instead. They also produce more smoke and more of the sticky deposits that build up inside a flue, which means more sweeping and more risk.
Dry wood is a different animal altogether. It lights with a couple of firelighters, keeps a steady flame and leaves pale grey ash rather than clinker. The target most wood burners work to is a moisture content below 20 per cent, and getting there is mostly about airflow and patience.
Walk around your garden and find the sunniest, breeziest wall you have. A south or west-facing wall under the eaves is ideal: sun for most of the day, wind to carry moisture away, and some protection from driving rain. North-facing shade is where logs go to rot.
Keep the stack off the ground. Placing logs straight onto soil, gravel or grass wicks damp upward and invites rot into the bottom layers. It also gives slugs, woodlice and spiders a convenient home. A pallet, a few concrete blocks or a purpose-built rack with legs gives you the air gap that matters most.
One warning: don't stack firewood tight against the house wall. Damp timber against brickwork is bad for both, and it is an open invitation to insects. Leave a gap of at least 50mm, and keep a store well away from doors and air bricks.
The best racks have slatted or mesh sides so air can move through the stack, not just around it. Options worth considering:
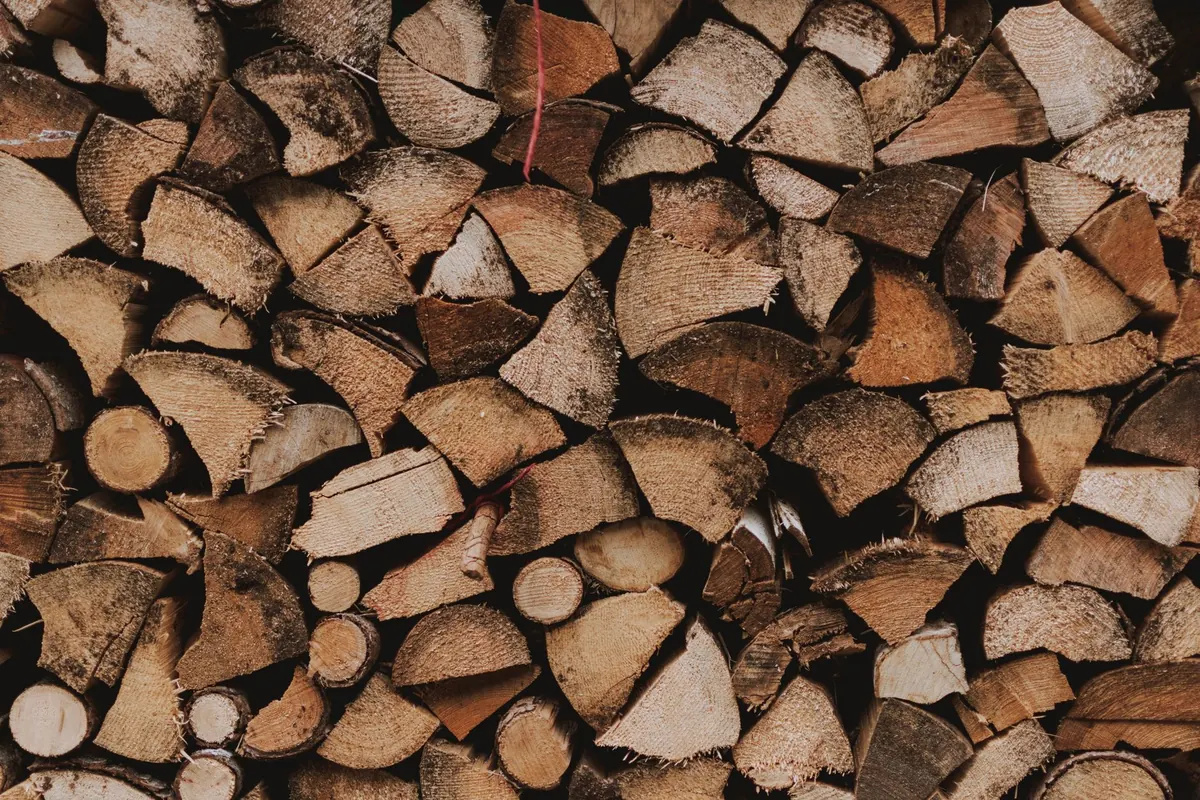
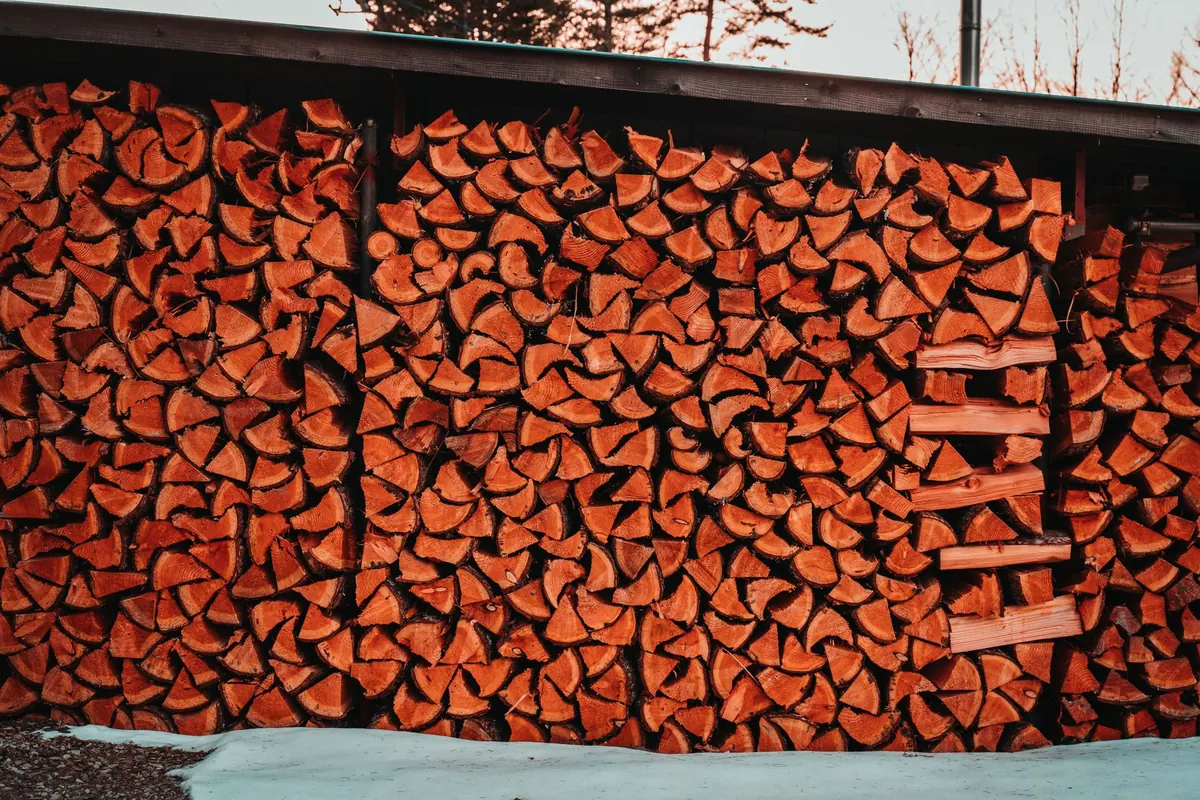
Air needs to travel through the pile. That means stacking logs so their cut ends face the prevailing wind and sun, leaving small gaps as you go, and avoiding the temptation to wedge everything tight to stop it toppling. A stack that leans is annoying; a stack that can't breathe is useless.
If you have the space, a single row along a wall dries fastest. If you need volume, build two rows with a gap down the middle, or stack in a crisscross pattern at the ends for stability. Arguments about bark up or bark down have been running for generations; the honest answer is that airflow and shelter matter far more than which way up a log sits.
Split large rounds before stacking. A log the size of a dinner plate can take years to dry, while the same wood split into quarters may be ready in a single summer.
The classic mistake is wrapping a stack in a tarpaulin and tying it down tight. That traps moisture inside, creates condensation, and turns your wood store into a sauna. Logs need to lose water, not sit in a damp plastic tent.
A top cover is what you want — something that keeps rain off the crown of the stack while leaving the sides open. A sheet of breathable material, a piece of corrugated roofing or even a spare board will do, overhanging by 100–150mm on each side and weighted down with a couple of bricks.
If you must use a tarpaulin because that is what you have, drape it over the top only and secure it so the sides stay exposed. Take covers off altogether during a dry spell in spring and summer so the wind can do its work.
Wet patches on the outside of logs are not a problem. A damp surface dries within an hour in a warm stove; it is the moisture locked deep inside the timber that causes trouble.
You don't need to guess. Split a log and press a moisture meter into the freshly exposed face — below 20 per cent is the usual target, and 15–18 per cent is excellent. If you don't have a meter, listen: knock two logs together and a sharp crack means dry, while a dull thud means there is still water in there.
Dry logs feel noticeably lighter than they look, and the fresh split face is pale rather than dark and cool to the touch. Seasoning times vary with species and split size. Softwoods such as pine and spruce are often ready in six to twelve months; dense hardwoods like oak and ash can need a year or two. Split in spring, stack in the sun, and you have a good chance of burning it the following winter.
Bring in a few days' worth of logs at a time and keep them in a basket or crate near the stove — not stacked against it, and always within the clearances the manufacturer specifies. Rotate your stock so the oldest wood gets used first, and restock from the outside of the pile rather than digging into the middle.
After a storm, check that your top cover is still in place and that the base hasn't shifted. Keep a dry tarp folded nearby for sudden downpours. And never burn painted, varnished or treated timber in a stove; it releases nasties you don't want in your flue or your lungs.
Sort your storage out in late summer, while the ground is still soft enough to drive a post and the weather is on your side. Clear the spot, raise the base, build the stack loosely with the ends facing the sun, and put a cover over the top only. Order next winter's wood now rather than in November, when everyone else has the same idea.
Do that, and the first properly cold evening of the year becomes a pleasure: one match, a quick catch, and a fire that settles in for the night instead of fighting you for an hour.
Photo: Kai-Chieh Chan / Pexels